Hardwood floors are a timeless choice for homeowners and designers alike, offering warmth, elegance, and value to any space. But keeping them pristine requires more than a quick sweep. Whether you're a DIY enthusiast bringing old floors back to life, a young professional setting up your dream home, an architect looking to advise clients, or a tradesperson offering premium services, knowing how to clean hardwood floors properly is essential. Here's your expert guide.
Understand Your Hardwood Floor Type First
Before you even pick up a mop or vacuum, identify what kind of hardwood floor you have. Is it solid hardwood or engineered wood? Is it finished with polyurethane, oil, or wax? Different finishes require different care to avoid damage.
Most modern wood floors are finished with a protective layer of polyurethane, which makes them more water-resistant and easier to clean. However, older floors or floors finished with oils and waxes need gentler treatment. If you are unsure, consult the manufacturer, your contractor, or a flooring specialist.
Understanding the floor type helps you choose the right cleaning solutions and tools. It also prevents costly mistakes like water damage, dulling the finish, or scratching delicate surfaces.
Remember: hardwood is an investment! Treat it right from the start to extend its life and maintain its beauty.
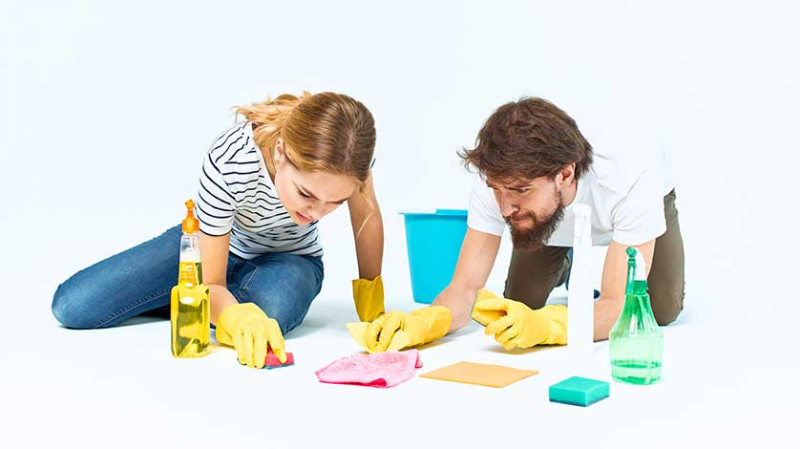
Gather the Right Tools and Supplies
Cleaning hardwood floors like a pro starts with having the correct tools. Here’s a basic checklist:
| Tool/Supply | Purpose |
|---|---|
| Microfiber Mop or Cloth | Picks up dust and debris without scratching |
| Vacuum Cleaner (with hardwood setting) | Removes dirt from corners and edges |
| pH-neutral Cleaner | Cleans without damaging protective finishes |
| Soft-bristle Broom | Daily dusting without abrasion |
| Spray Bottle | For a light misting when using liquid cleaners |
Steer clear of traditional string mops and steam cleaners. Excess moisture and heat can wreak havoc on your hardwood floors, causing warping, swelling, or staining.
Always double-check that any vacuum you use has a hard floor setting and that the wheels are clean, so they don’t scratch the surface.
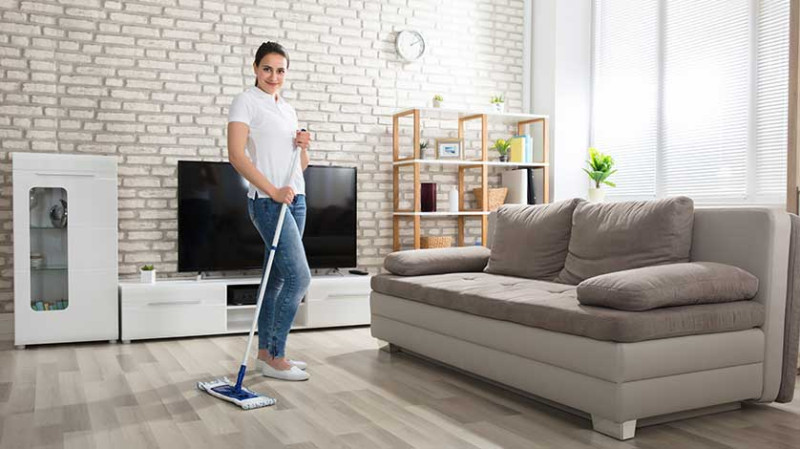
Master the Day-to-Day Cleaning Routine
Regular maintenance is the key to keeping hardwood floors looking stunning without extra effort. Here's how to make daily cleaning simple and effective:
Dry Dusting: Use a microfiber mop or cloth daily to pick up dust, pet hair, and other small debris. These particles may seem harmless but act like sandpaper underfoot, dulling the finish over time.
Vacuum Weekly: Use a vacuum cleaner once or twice a week to remove dirt from between the floorboards and hard-to-reach areas. Always use a soft floor attachment to avoid damaging the surface.
Spot Clean Spills Immediately: If you spill something, blot (don't rub) the area straight away with a soft, dry cloth. Moisture is hardwood’s worst enemy, and even sealed floors are vulnerable over time.
Keep Outdoor Dirt Outside: Place welcome mats at entrances and consider a "no shoes" policy in your home to minimise abrasive dirt being brought indoors.
Deep Cleaning Hardwood Floors Safely
Even with the best daily habits, your hardwood floors will need a deeper clean from time to time. Here’s how to approach it professionally:
Step 1: Vacuum Thoroughly
Start by giving the entire floor a thorough vacuuming to remove any grit or debris that could scratch the floor during wet cleaning.
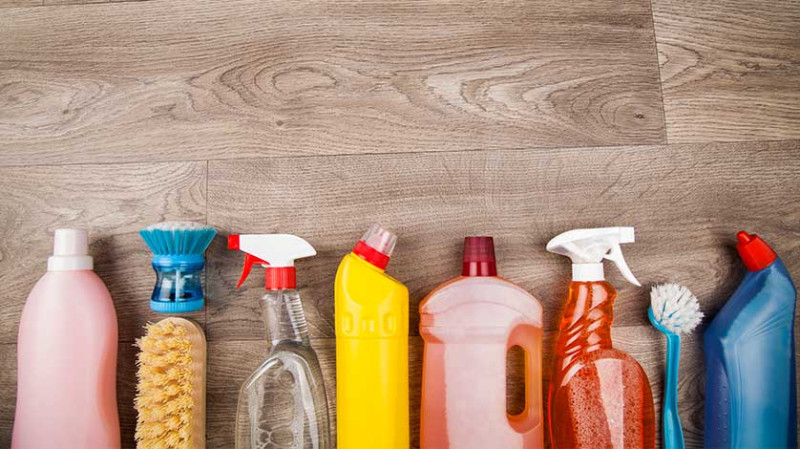
Step 2: Choose The Right Cleaning Solution
Opt for a cleaner specially formulated for hardwood or make a DIY version (a few drops of pH-neutral soap in a bucket of water). Never use harsh chemicals, ammonia, or vinegar straight from the bottle; these can strip the finish and dull the wood.
Step 3: Use the Damp Method
Moisten (not soak) your microfiber mop or cloth. Mop in sections, making sure no standing water remains. A slightly damp mop is sufficient to pick up dirt without risking water damage.
Step 4: Dry Immediately
After using moisture, go over the floor with a dry, clean cloth to ensure no wet patches are left behind.
Perform a deep clean every month or two, depending on how much foot traffic your floors experience.
Protect Your Hardwood Floors Beyond Cleaning
Cleaning is vital, but protecting your hardwood floors is just as important. Here are professional tips you can implement:
Use Felt Pads: Attach felt pads to the legs of furniture to prevent scratches when moving tables, chairs, or sofas.
Rugs in High-Traffic Areas: Strategic placement of rugs near entryways, kitchens, and hallways reduces wear and tear. Choose breathable area rugs that allow the wood to expand and contract naturally.
Control Room Humidity: Wood expands and contracts with humidity. Invest in a quality humidifier to keep indoor humidity levels ideally between 35-55% year-round. This prevents gaps, warping, or cracking.
Regular Re-Coating: Depending on wear and tear, professional recoating every 3-5 years can refresh the protective layer, rather than allowing you to wait until full sanding and refinishing is necessary.
Common Mistakes to Avoid
Even the keenest DIYers and professionals can sometimes make mistakes. Avoid these common pitfalls to preserve your beautiful hardwood flooring:
- Over-wetting the Floor: Excess water seeps into seams and causes swelling and warping.
- Using Incorrect Cleaners: Products containing ammonia, bleach, or abrasive substances will damage finishes.
- Ignoring Routine Maintenance: Letting dirt build up will shorten the life of the floor’s finish and cause irreversible scratching.
- Skipping Felt Pads: Furniture scratches can be deep and costly to repair – simple felt pads can prevent them altogether.
Put as much effort into avoiding mistakes as you do following best practices, and your hardwood floors will reward you with decades of natural beauty.
Final Thoughts: Make Hardwood Floor Care a Habit, Not a Chore
Keeping hardwood floors clean like a pro isn’t about doing a massive deep clean every few months—it's about consistent, smart everyday habits. With the right tools, techniques, and a little proactive thinking, maintaining those gleaming planks becomes second nature.
Whether you're a DIY enthusiast restoring a Victorian terrace in London, a young professional updating a city flat, an architect specifying finishes for a new build, or a seasoned tradesman fitting floored homes across the UK, mastering the art of hardwood floor care will set you apart.
Trending articles
-
 The Best Chemicals for Pressure ...
29 Apr, 2025
The Best Chemicals for Pressure ...
29 Apr, 2025
-
How To Clean Hardwood Floors Like A ...
28 Apr, 2025
-
 How to Clean Hardwood Floors Naturally ...
25 Apr, 2025
How to Clean Hardwood Floors Naturally ...
25 Apr, 2025
-
 Cleaning Floors: How to Remove Scuff ...
24 Apr, 2025
Cleaning Floors: How to Remove Scuff ...
24 Apr, 2025
-
 Top 10 Questions to Ask Before Hiring ...
16 Mar, 2025
Top 10 Questions to Ask Before Hiring ...
16 Mar, 2025
-
 How to Remove Stubborn Stains ...
18 Jul, 2022
How to Remove Stubborn Stains ...
18 Jul, 2022